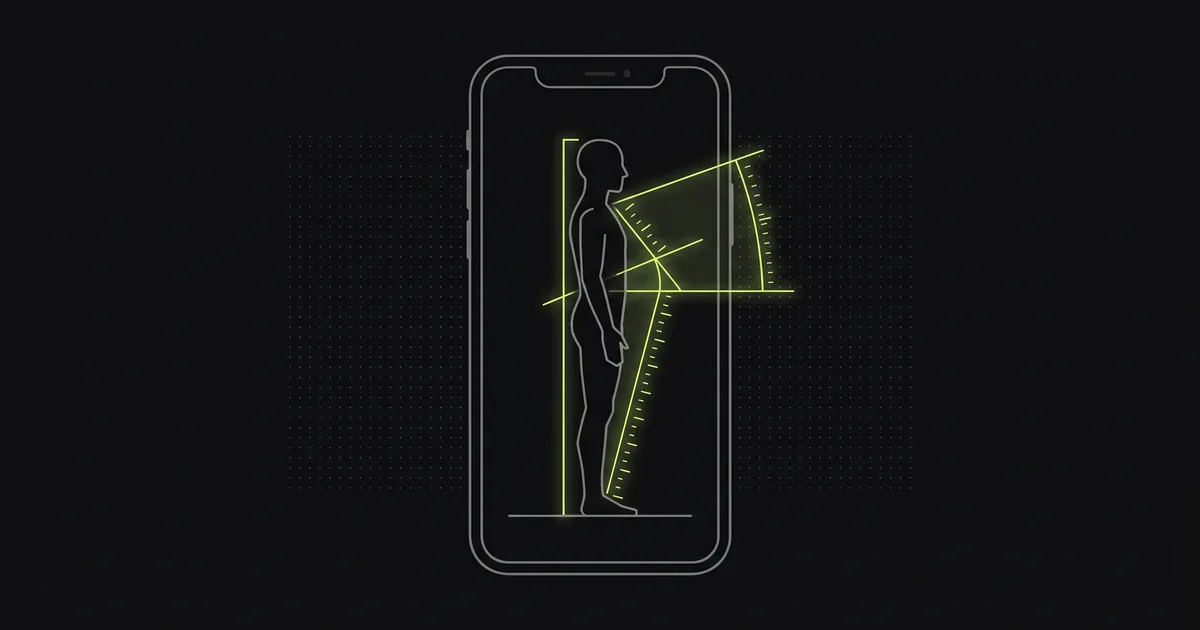
Most posture advice skips the first step: knowing where you actually stand. Without a baseline, “sit up straight” is a vibe, not a plan, and you have no way to tell whether anything you try is working.
You don’t need a clinic to measure posture. Here are three ways to do it at home, from a 30-second check to a repeatable number, plus how to make the measurement consistent enough to trust.
Why measure at all
Posture changes slowly. The drift that produced your current position took years, and reversing it takes weeks of small effort. On that timescale your own perception is unreliable. You can’t feel a four-degree change, and a single good day feels like progress when it isn’t.
A measurement fixes that. It turns a slow, invisible process into something you can compare week to week. It also tells you where to put your effort: there’s no point doing neck work if your real problem is a rounded upper back.
What “good posture” actually means
Before measuring, drop the idea of one perfect posture. There isn’t a single correct position you must hold all day. The healthiest thing you can do is change positions often.
What you’re really measuring is your neutral: where your head, shoulders, and spine sit when you’re relaxed and not thinking about it. The goal isn’t a rigid ideal. It’s a neutral that’s closer to balanced, plus the freedom to move in and out of it.
Method 1: the wall test (quick, no tools)
The fastest check, useful as a daily cue:
- Stand with your heels, hips, upper back, and the back of your head against a wall.
- Notice how hard your head has to work to touch the wall without tipping your chin up.
If the back of your head doesn’t reach the wall comfortably with your chin level, that points to forward head posture. If you have to arch your lower back hard to make contact, your spine may be compensating elsewhere.
It’s a yes/no signal rather than a number: good for a quick gut-check, less so for tracking change precisely.
Method 2: the side-photo angle check
This is the home version of what clinicians do, and it gives you an actual angle.
Take a consistent photo
Consistency is everything here. Most apparent “change” between photos is really a change in setup:
- Stand side-on to the camera, relaxed, looking straight ahead.
- Put the camera at about chest height, a couple of metres away, and level (not tilted).
- Wear fitted clothing so your shoulder and neck line are visible.
- Note the spot you stood on and the camera position so you can repeat it.
What to measure
On the photo, estimate the craniovertebral angle: draw a line from the bony bump at the base of your neck (C7) to the small flap in front of your ear (the tragus), and measure the angle it makes with horizontal. A smaller angle means the head sits further forward. You can also eyeball whether your ear falls in front of your shoulder, and how much your upper back rounds.
Re-take the photo every week or two from the same spot and compare. The absolute number matters less than the trend.
Method 3: an app scan (fastest, repeatable)
The manual photo method works, but measuring angles by hand is fiddly and easy to do inconsistently. An app removes that friction.
This is what Spine does: you take one side-on photo and it estimates the key angles (forward head tilt, thoracic rounding, shoulder roll), then combines them into a single posture score from 0 to 100. Because the same method runs every time, your week-to-week trend stays comparable in a way hand-measured photos rarely do.
Two things worth being clear about:
- It’s an estimate, not a diagnosis. A score is built for consistent tracking, not clinical assessment. Treat the trend as the signal.
- It stays on your phone. Spine’s scan runs on-device. The photo never leaves your phone, and there’s no account. The privacy isn’t a setting you switch on; it’s how the app is built.
If you want to understand what the angles mean before you measure, see tech neck, explained and the forward head posture fix.
Make it a habit: same setup, weekly
Whichever method you choose, the rule is the same: measure the same way, on a schedule. Same spot, same distance, same time of day, once a week. Posture shifts with fatigue and time of day, so a fixed routine keeps your readings honest.
Pair the measurement with the work. Re-check once a week, then spend a few focused minutes a day on the angles that need it. That’s the whole loop: measure, work, re-measure. Spine packages it as a 7-minute daily program tuned to your scan, but the principle works with any method. You can only improve what you actually track.
What the numbers mean
Hold your results loosely. A posture angle or score is a useful number for watching change over time. It isn’t a verdict on your health, and it isn’t a measure of how you look. Pain, numbness, or weakness are separate questions a measurement can’t answer.
For the thing it’s good at, though, measuring at home is the single most motivating step you can take: it turns slow, invisible progress into a line you can watch move. Get your baseline first, and everything else has something to push against.